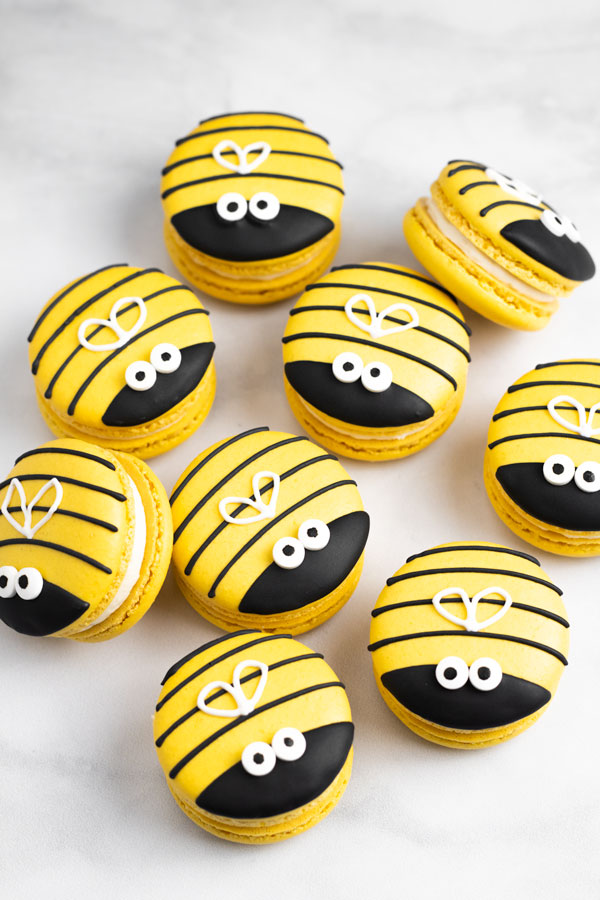
These Honey Macarons are filled with a delicious honey buttercream and are perfect for spring! They’re decorated with an easy royal icing design and look like the cutest little bees.
This post contains affiliate links. As an Amazon Associate I earn from qualifying purchases.
Honey Macaron Recipe
- Powdered sugar – Sift the powdered sugar and almond flour together so they sift more easily. Almond flour has a lot of moisture and doesn’t sift well on its own.
- Almond flour – Use finely sifted almond flour even though you’ll be sifting again. This helps prevent lumpy macaron shells.
- Egg whites – Should be at room temperature because this will help the meringue whisk up to stiff peaks more easily and quickly.
- Granulated sugar
- Egg white powder – If you’re having issues whisking your meringue to stiff peaks, egg white powder can help make a stronger meringue.
- Vanilla extract – Gives the shells a nice vanilla flavor.
- Gel food coloring – Use gel color because liquid can add moisture to the batter which can affect the texture of the shells.
Honey Buttercream for Macarons
This is such an easy buttercream to make and is perfect for macarons because although the honey makes the buttercream softer than usual, it’s still firm enough to make a great macaron feeling without being runny.
- Salted butter – I always use salted butter, but you can also use unsalted. Just add a pinch of salt to counteract the sweetness and bring out the flavor of the filling.
- Powdered sugar – No need to sift unless it’s lumpy.
- Honey – I used regular honey but you can use any type you’d like.
Bee Macarons
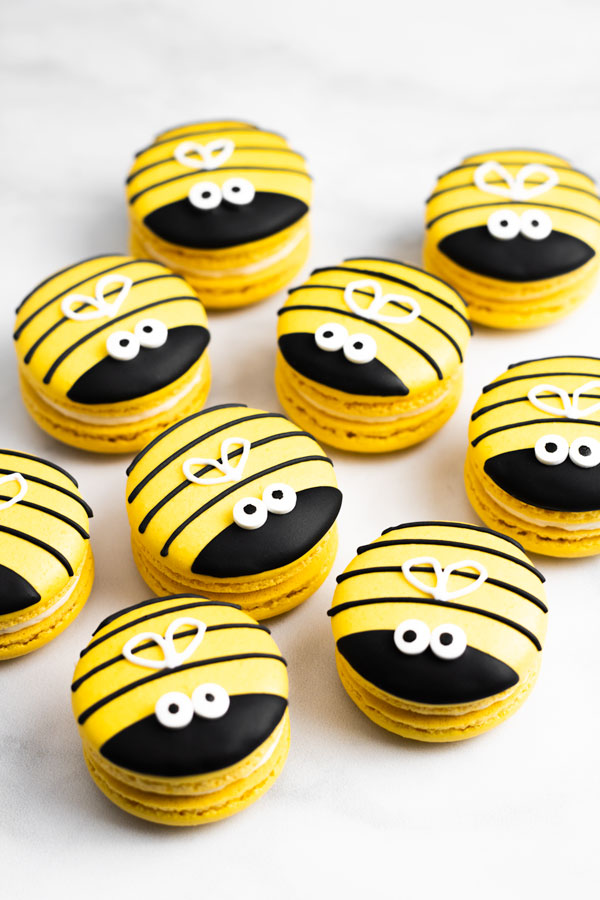
These bee macarons are so easy to decorate even if you’re just a beginner. You only need to make a little bit of royal icing and use some sugar candy eyes. These candy eyes are my favorite because they’re small and are the perfect size for macarons.
Easy Royal Icing Recipe
This easy royal icing recipe is made with meringue powder instead of egg whites, so it comes together quickly and easily.
- Powdered sugar – no need to sift unless its clumpy
- Meringue powder
- Water – room temperature
- Black gel food coloring
Mix the powdered sugar, meringue powder and water and stir using a spoon until you have 20 second icing. This means that if you lift the spoon from the icing, it should take about 20 seconds for it to sink back into itself.
Once you’ve prepared the icing and before adding the black gel color, scoop about half a tablespoon out and transfer it to a piping bag. This will be the icing for the wings. Add the black food coloring to the remainder of the icing, stir until the color is fully mixed in, and then transfer to another piping bag.
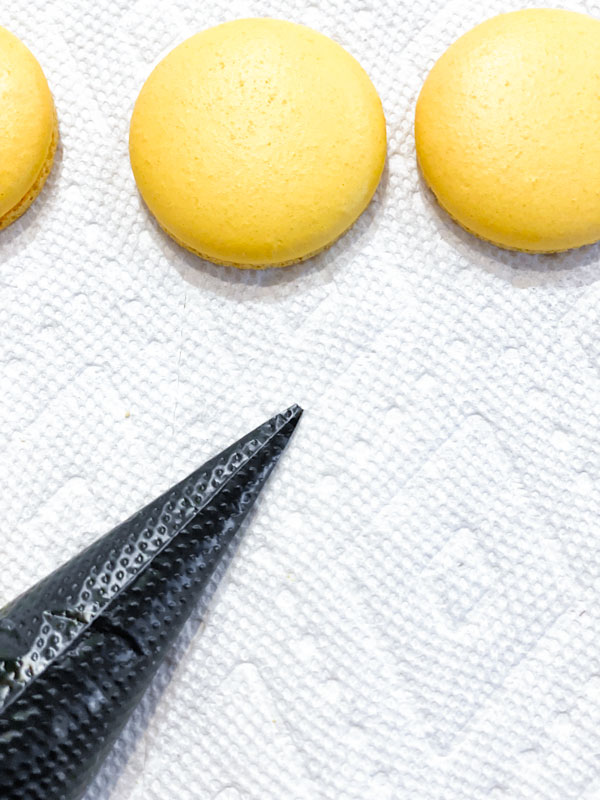
Decorating the Macaron Shells
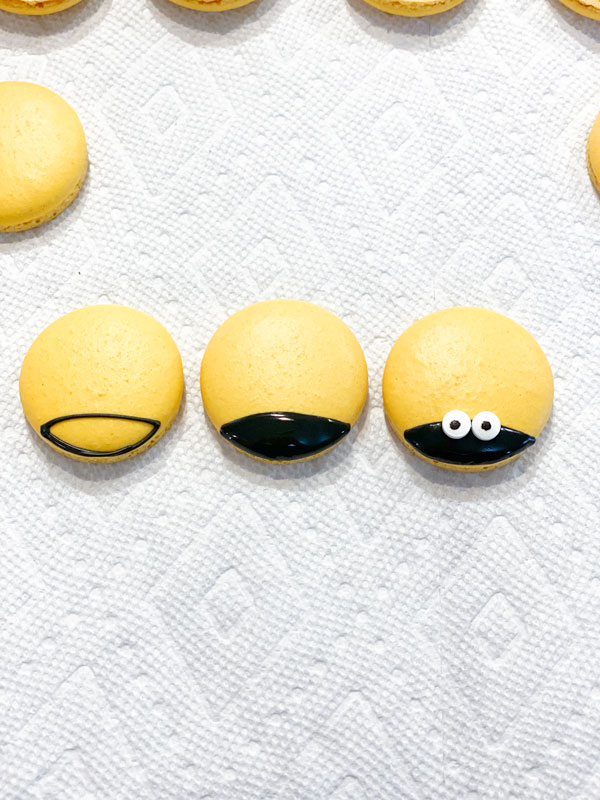
- Outline the face of the bee
- Fill in the face of the bee
- Add the candy eyes before the icing dries
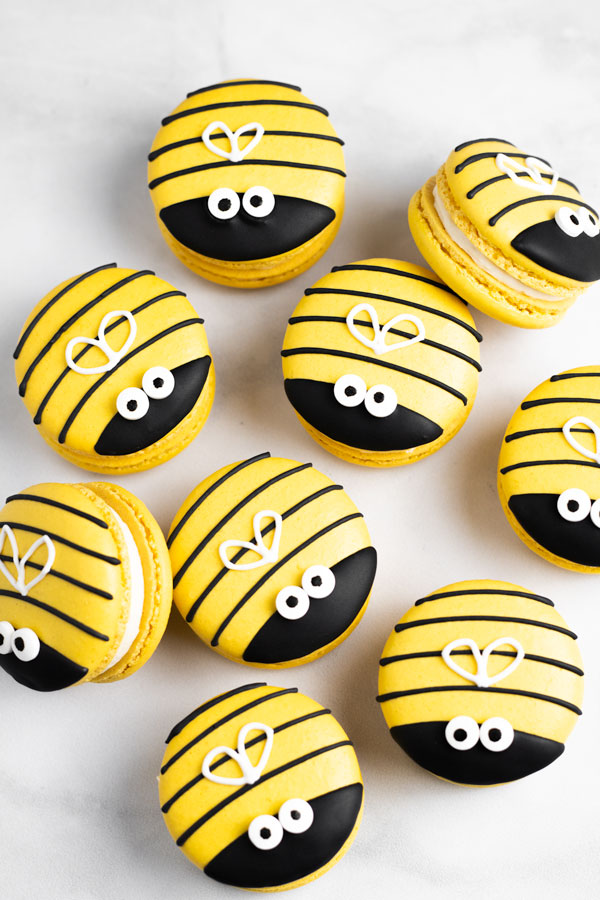
- Add the body lines
- Add wings
Royal Icing Tips
- Add water a bit at a time to get the perfect consistency – I like to use a water dropper because royal icing can go from stiff to runny very quickly if you add too much water.
- Mix the royal icing to the right consistency before adding color – Mix the entire batch of royal icing to the right consistency first, then separate and add colors.
- Use gel colors for royal icing – Gel colors won’t affect the consistency of the icing like liquid colors might.
More macaron art
- Bunny Macarons
- Valentine’s Macarons
- Splatter Paint Macarons
- Caramel Apple Macarons
- Coffee Macarons
- Orange Macarons
- Valentine’s Macarons
- Snowman Macarons
- Reindeer Macarons
Macaron resources
Honey Macarons
Equipment
- Kitchen scale
- Strainer
- Whisk
- Stand mixer
- Spatula
- One 16 inch pastry bag
- Three 8 inch pastry bags
- Round piping tip (I used the Ateco 10)
- Two silicone mats
- Two half sheet pans
- Oven thermometer
- One small bowl (to mix royal icing)
Ingredients
- 90 grams powdered sugar
- 80 grams almond flour
- 70 grams egg whites (room temperature)
- 70 grams granulated sugar
- 2 grams egg white powder (optional)
- ½ tsp vanilla extract
- 3 drops yellow gel food coloring
Honey buttercream
- ¼ cup salted butter (½ stick)
- 1 cup powdered sugar
- 1½ tbsp honey
Royal icing decoration
- ½ cup powdered sugar
- ½ tsp meringue powder
- ½ tsp water (room temperature)
- 2 drops black gel food coloring
- candy eyes
Instructions
Prepare dry ingredients
- Sift powdered sugar and almond flour using a whisk to break down any clumps. Set aside.
- Line sheet pans with the silicone mats.
- Insert the piping tip into the 16 inch pastry bag.
Make the meringue
- Whisk the egg whites on medium speed (speed 4) until you see small bubbles (this can take as little as 15 seconds sometimes).
- Slowly add 3 tbsp of granulated sugar, 1 tbsp at a time, waiting about 10 seconds between each tbsp.
- Whisk until you start to see tracks in the meringue.
- Increase speed to 6 and continue slowly adding the remainder of the granulated sugar, 1 tbsp at a time, until you’ve added all the sugar.
- Once you have soft peaks, stop the mixer, scrape the sides and add the vanilla extract and the yellow gel food coloring.
- Whisk for about 5 more minutes, or until you have stiff peaks.
Combine ingredients
- Add in the powdered sugar and almond flour mixture in three parts, 1/3 at a time, folding each part until fully combined.
- Once the meringue and dry ingredients are fully combined, stop folding.
- Now you need to deflate some of the air in the batter by taking the spatula and smearing the batter on the sides of the bowl two or three times, and then folding once or twice.
- Repeat the process of smearing some of the batter on the side of the bowl and folding until the batter looks smooth and glossy and runs down the spatula slowly in ribbons.
- You can test the consistency by lifting the spatula and letting the batter run down. If it falls in ribbons and sinks back into itself within 30 seconds, the batter is ready.
- Transfer the batter to the 16 inch pastry bag.
Pipe the macarons
- Take the pastry bag and, holding the bag at a 90° angle, pipe the shells in 3/4 inch circles.
- Tap the tray against the counter a few times to pop any air bubbles. I usually tap about 7-8 times.
- Let the macarons rest until they form a skin and are no longer sticky.
- While the macarons are resting, preheat the oven to 315°F.
- Bake the macarons for 14-16 minutes.
- Macarons are ready when they no longer shift if you touch the tops.
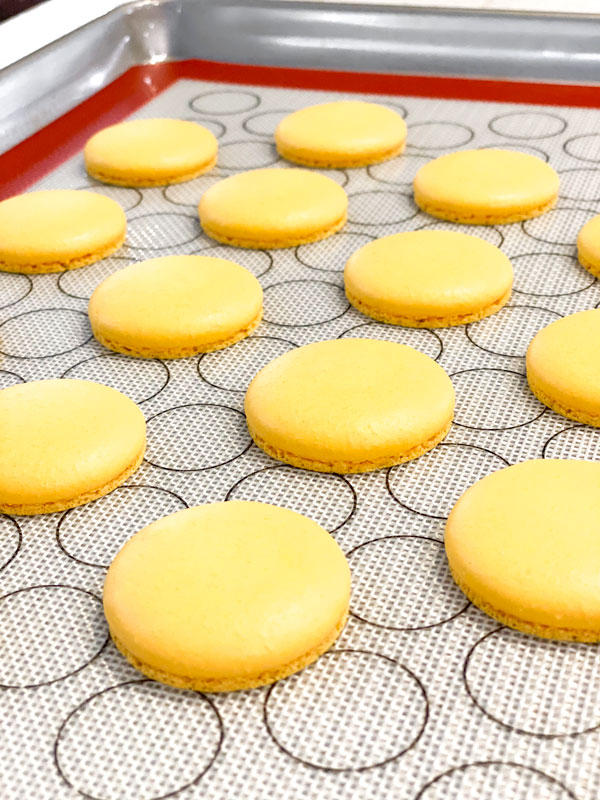
- Let the macaron shells cool for at least 30 minutes before decorating.
Make the royal icing
- In a small bowl, combine the powdered sugar, meringue powder, and a few drops of water and stir with a spoon.
- Continue stirring adding a few more drops of water if necessary.
- Check the consistency by lifting the spoon and counting how many seconds it takes for the icing to sink back into itself. If it takes around 20 seconds, it's ready.
- Take about ½ tbsp of the white royal icing, and transfer it to an 8 inch piping bag and set aside. This will be the icing for the wings.
- Add 2 drops of black gel color to the bowl and mix well until fully combined.
- Transfer the black royal icing to another 8 inch piping bag, and cut a very small opening at the tip.
Decorate the macarons
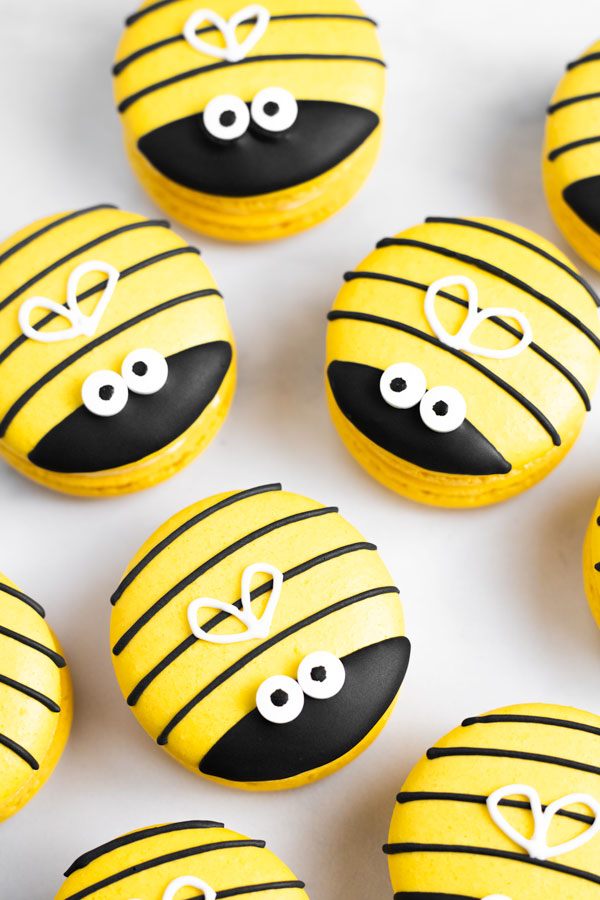
- Outline and fill in the head of the bee with the black royal icing and add the eyes before the icing starts to dry. Add a few more lines on the body. Decorate all the shells with the black royal icing first and allow to dry for at least 20 minutes.
- Once the black lines on the body of the bee are dry, take the piping bag with the white royal icing, cut a very small opening at the tip, and add the wing decoration.
- Let the royal icing continue to dry for about an hour before filling the macarons.
Honey buttercream
- In a medium bowl, using the stand mixer, whisk the butter until smooth.
- Add half of the powdered sugar and whisk until fully combined.
- Add the remaining powdered sugar and whisk until combined.
- Add the honey and mix until creamy and smooth.
Assemble the macarons
- Fill an 8 inch pastry bag with the buttercream and cut a ½ inch opening at the tip of the bag.
- Pipe the buttercream in the center of the bottom shells.
- Top the filled macaron shells with the decorated shells and refrigerate for at least 24 hours so that the macarons can mature.
- When ready to eat, remove the macarons from the refrigerator and let them come to room temperature at least 20 to 30 minutes before eating.

I just wanted to tell you that I’m so happy that I discovered your web site. I’ve now made a few of your macaron’s, and they are a huge hit with my best friend’s granddaughter. She has celiac so everything has to be gluten free and these are a perfect dessert. Your detailed directions are great! I don’t have your decorating talent, but they come out good enough, and taste great! So thank you!
Trish T
Hi Trish! I’m so happy to hear that you’re enjoying my recipes!! I’m sure yours look beautiful as well.=) Thank you so much for taking the time to comment!